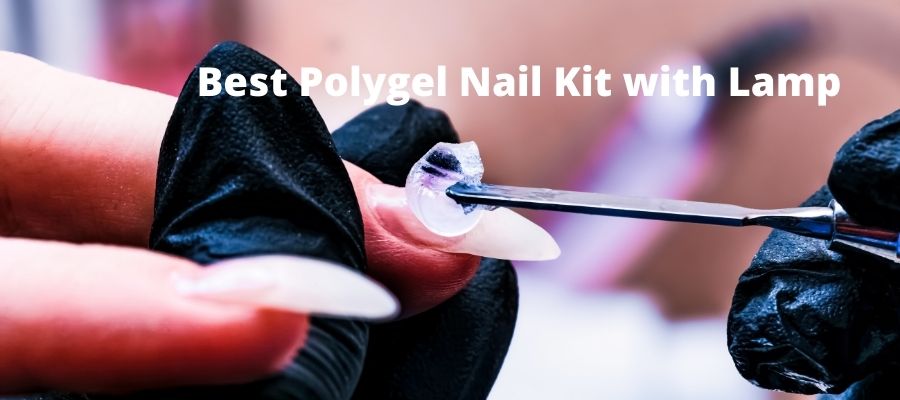
Some days back, I had to go to a friend’s wedding. But during quarantine, I could not take care of my nails and they were not looking great. Just then another friend of mine suggested me to applying polygel nails. I heard about applying poly gels on nails but I have never done it before.
So, like you, this question arose in my mind too, “How to apply poly gel nails?” Applying poly gel nails is an easy task and you can do it by using an acrylic brush. Throughout the process you should start by shaping your nails, apply the base coat, put poly gel on nail form, flip the nail form, and cure under UV lamp. Finally, you need to pop up the nail form and apply a top coat.
However, to let you know the details, now I will tell you all the steps of applying the poly gel nails. So that you can also have beautifully manicured long nails sitting at home.
So let’s get started.
What are poly gel nails?
Polygel nails are an advanced version of a gel formula. Nowadays this formula has become popular to create solid and lightweight nail extensions.
Polygel nails are mainly a fusion of common gel manicures and acrylic nails. However, it is more durable and smoother than typical gel polish, and it is much flexible than sculpting thick acrylic nails.
The texture of the poly gel is like a paste, which comes in a tube. Basically, it is a composition of gel and powder. You can put this gel on your nails and give them your required shape. This gel will hold the shape.
What you will need?
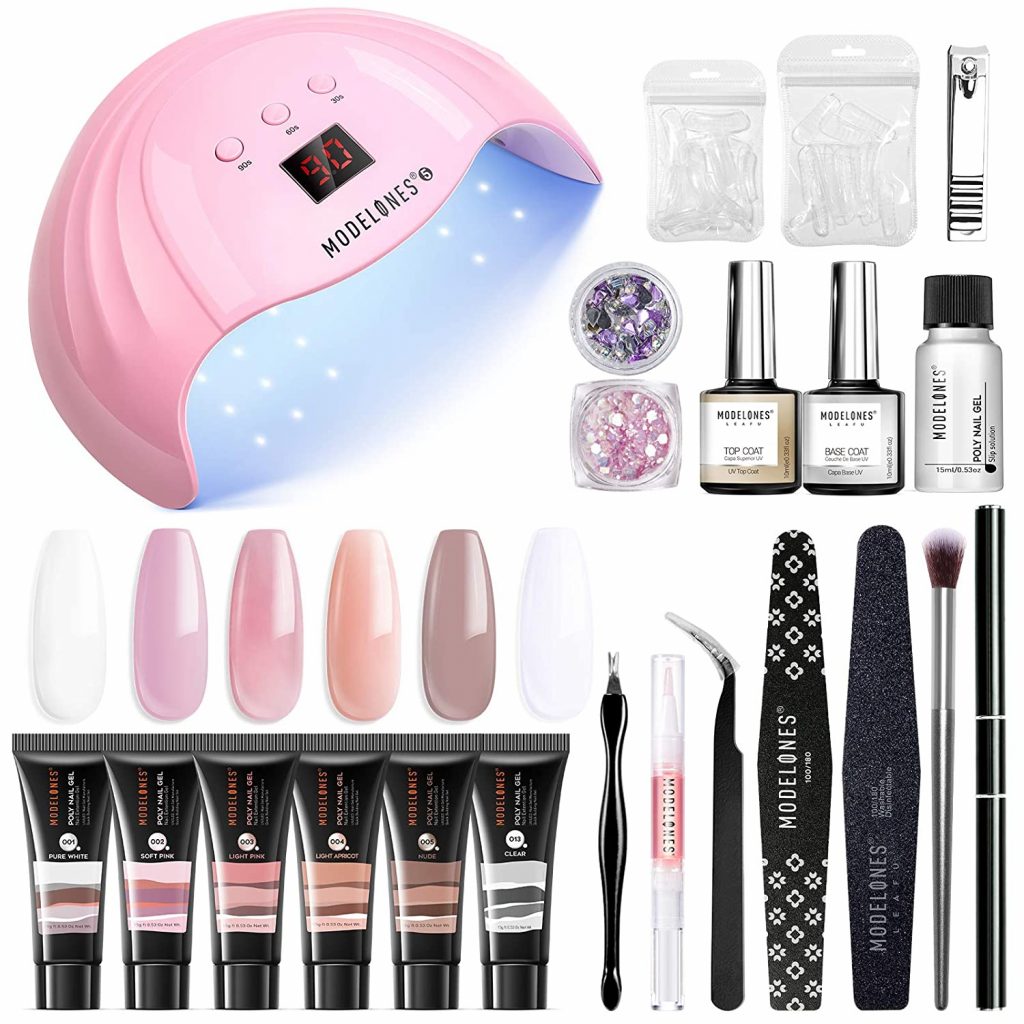
For applying poly gel nails, you need a poly gel nail kit that consists of the below-listed items.
Top 9 things you must need:
- Nail file
- Nail drill
- Cuticle clipper
- Poly nail gel
- Two-headed poly gel tool
- Dual forms for nails
- Polygel base top coat set
- Slip solution or rubbing alcohol
- 48W nail lamp (UV or LED)
How to apply polygel nails?
You may be excited to know the application process of polygel nails.
Don’t be impatient!
Before you start applying poly gel nails, you need to do some groundwork. These preliminary steps will help you to do your job perfectly.
A list of primary work that you need to do before applying polygel nails:
- Take a towel and spread it out. Working on the towel will help you to avoid any kind of dirtiness.
- Wash your hands with soap or hand wash
- Apply a sanitizer
- Before nail gel application, try to not touch your nails.
Now you are ready for starting the process. Follow every step I have written here.
Top 10 steps to follow to apply polygel nails:
Step 1:
- At first, you have to prepare your nails.
- You can start by pushing your cuticles. With the pointed end of the cuticle, scrape any dead tissue.

Step 2:
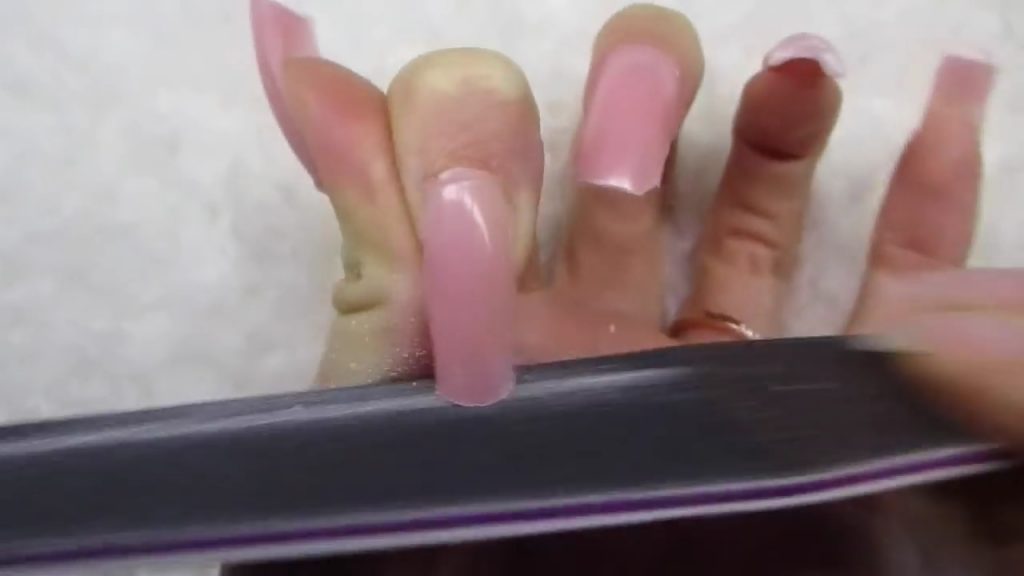
- Then trim your nails. Use the nail filer to clean your nails.
- You can use 75-90% rubbing alcohol to remove any bacteria or oils from your nails.
Step 3:
- Then you have to apply a thin layer of Base Coat to each nail.
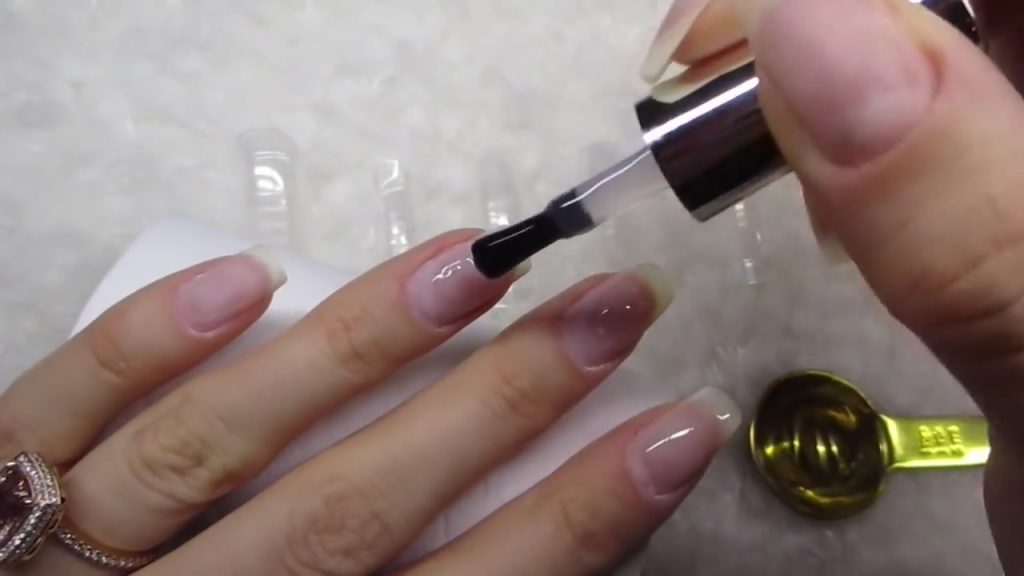
- Keep your hand under the UV lamp for almost 60 seconds.

Step 4:
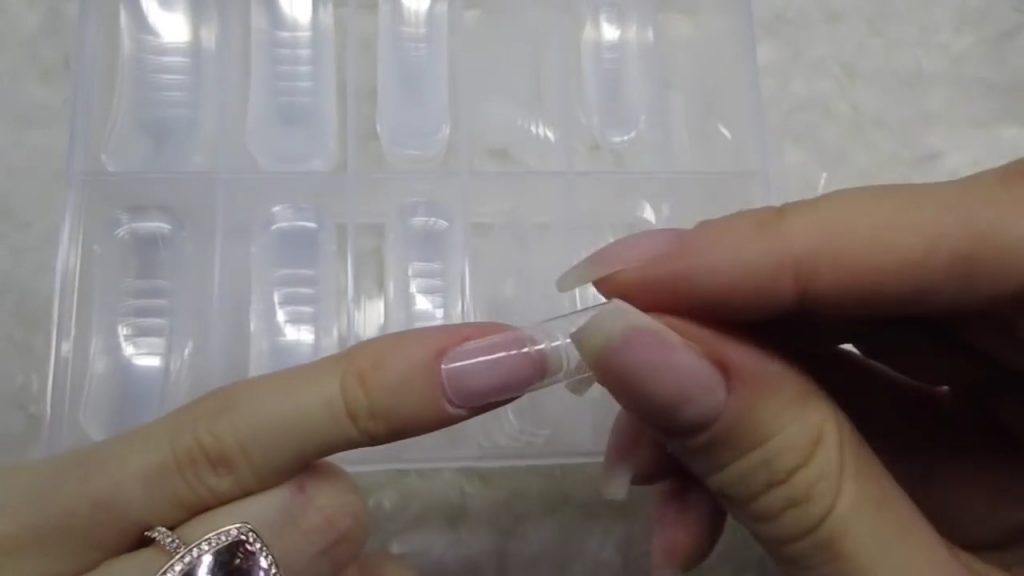
- The next move is to choose the proper set of dual forms for each of your ten nails. The dual shape should be slightly larger than the real nail.
Step 5:
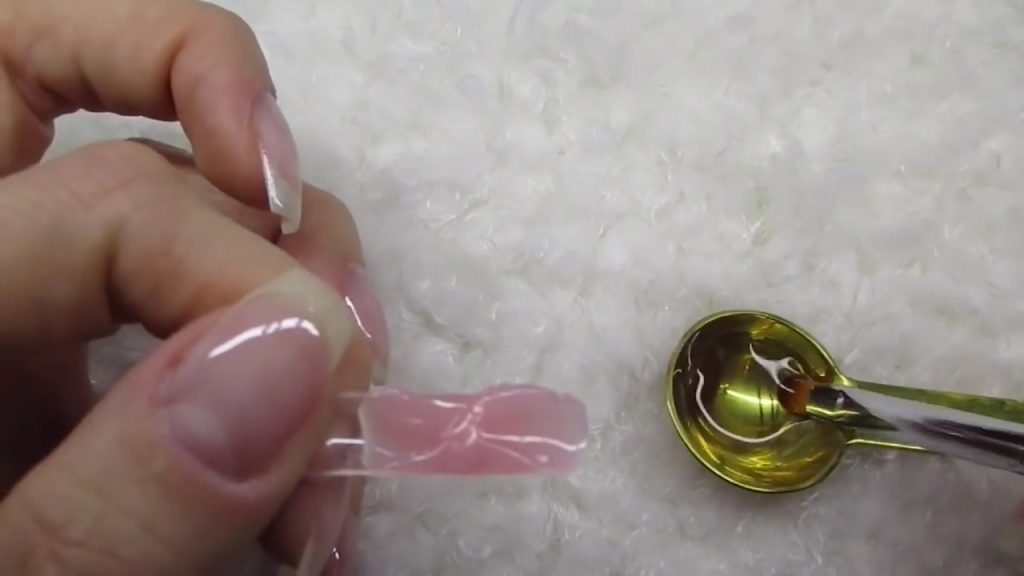
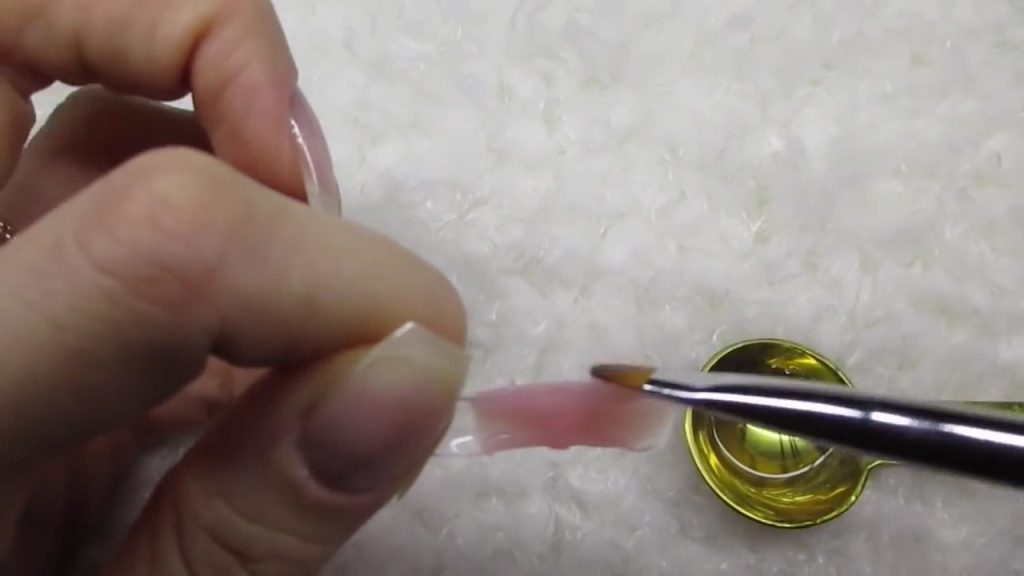
- Now pick the tube and take a small amount of gel. Put it inside the nail lines using the two-sided poly gel tool.
- Then use the slip solution or rubbing alcohol to dip the brush. It will prevent the gel from sticking with the brush.
- Now start brushing the gel inside the nail form. You need to brush in such a way that the cuticle side gets thinner and the edge gets thicker.
- Don’t forget to cover the sides of the nail form with the gel.
Step 6:
- Now take the nail form and place it at a 45-degree angle on the cuticle. And lightly press it to the nail.
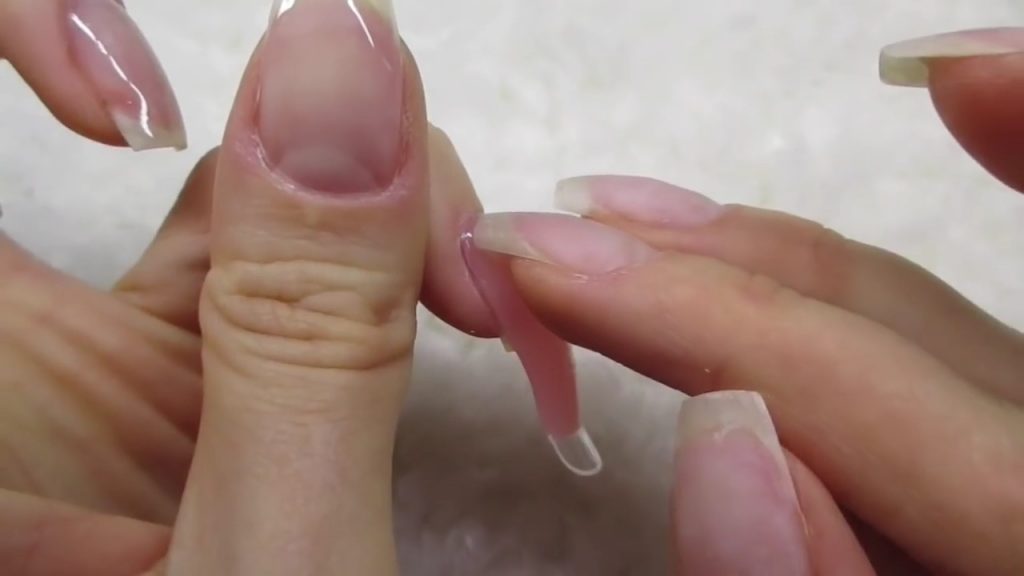
- If any gel has squeezed at the sides, then wipe it with the wet brush.

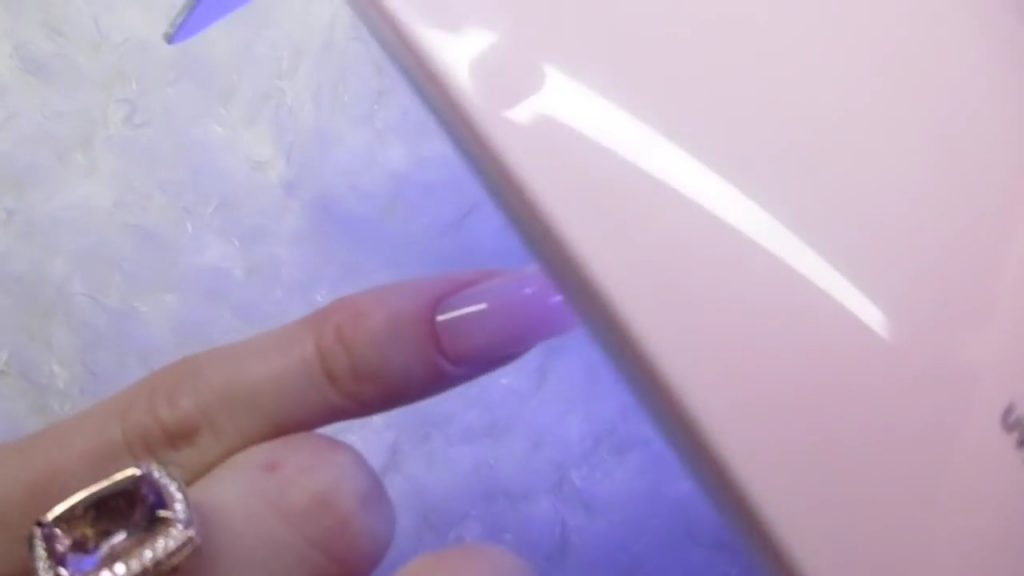
Step 7:
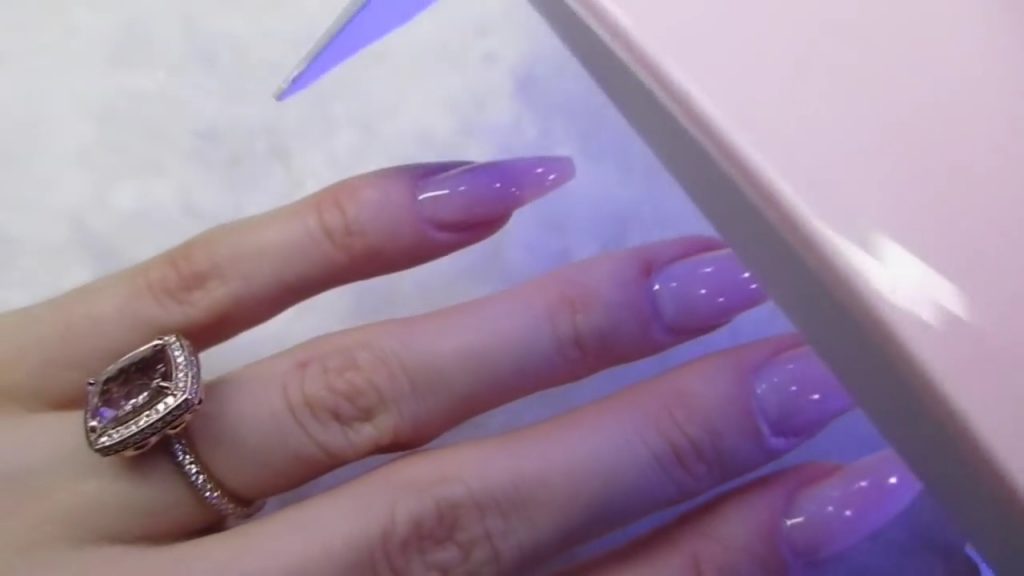
- Next, you need to flip the nail and make sure the evenness of the gel at the bottom.
- Quickly cure your nail for 60 seconds under the UV lamp.
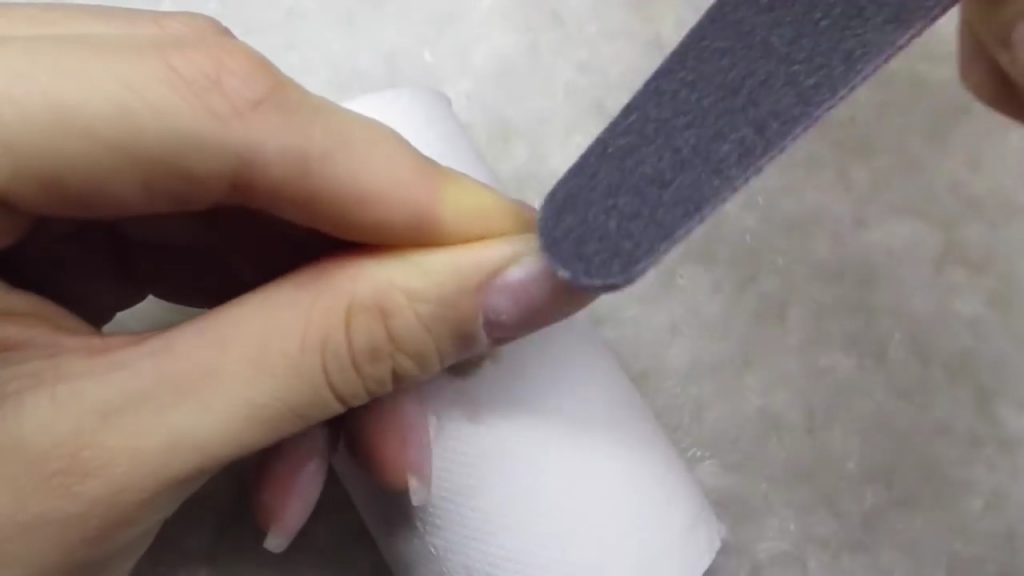
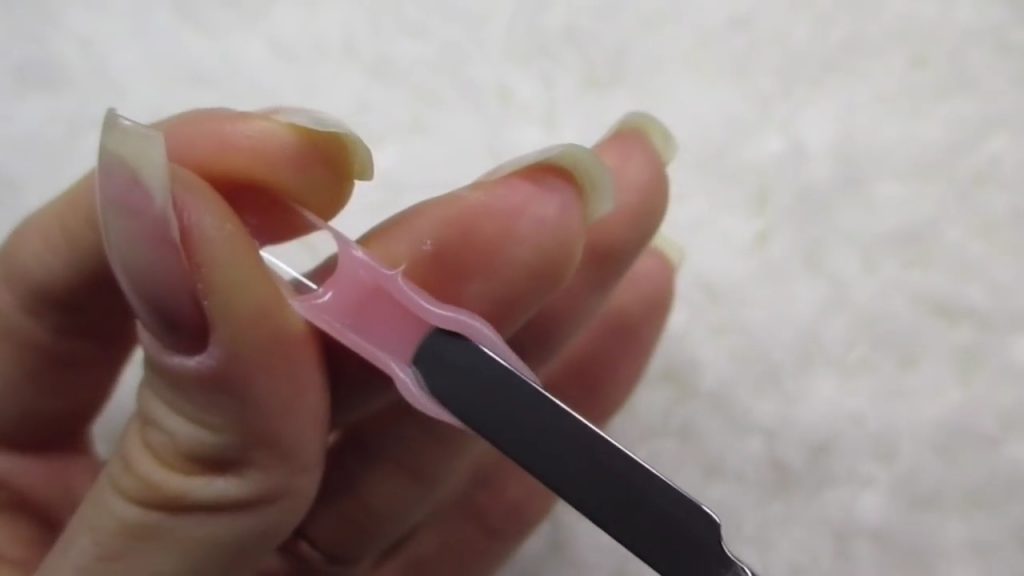
Step 8:
- Then you can easily pop off the nail form.
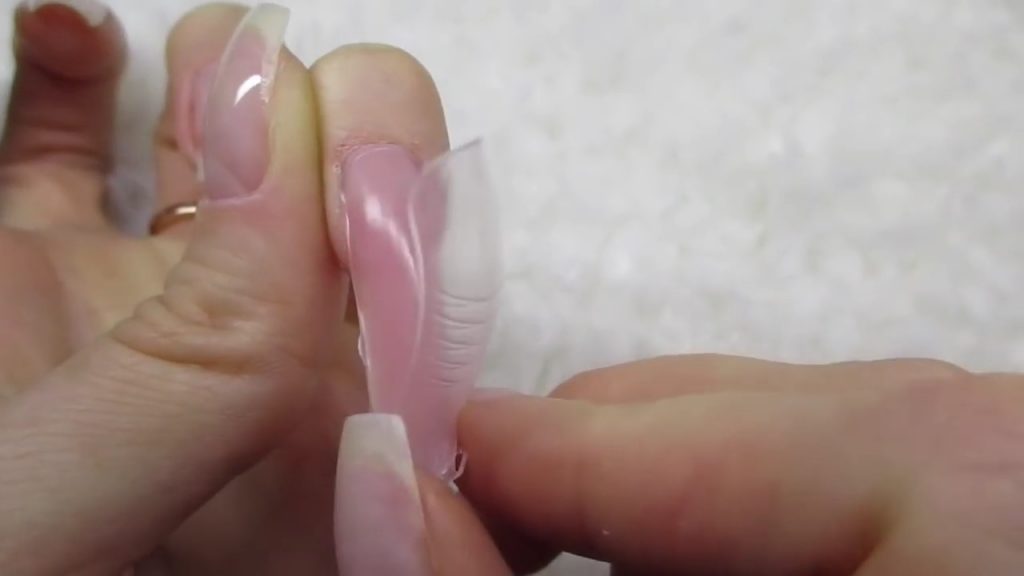
- If you notice any unevenness at the edge and cuticle, file them.
- Carry on filing until you get the shape you wanted.
Step 9:
- After that, remove the dust on the nails using a brush or lint-free cloth.

Step 10:
- The next step is applying Top Coat and curing it for 60 seconds.
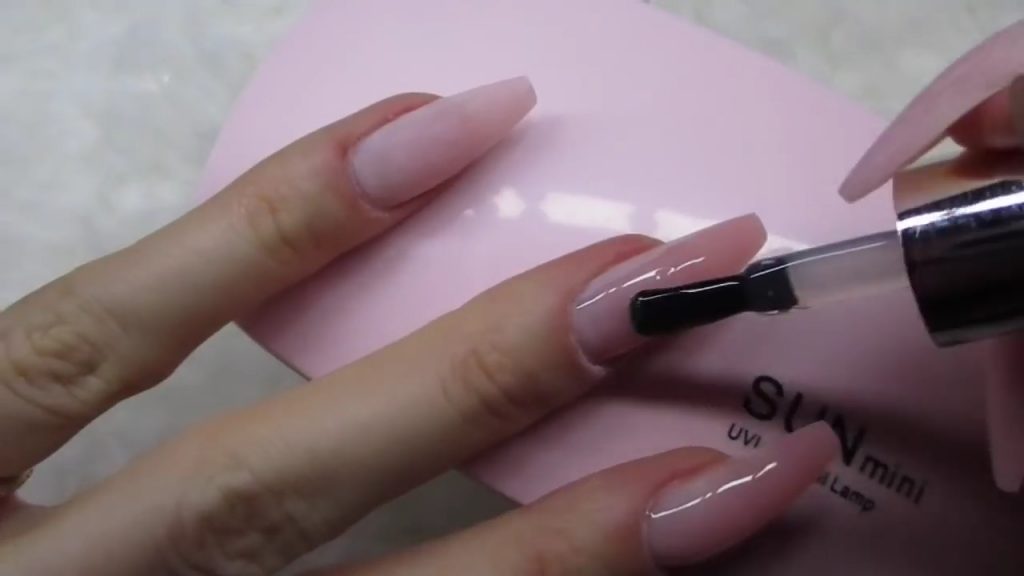
- Finally, wipe your nail with a lint-free cloth and slip solution.
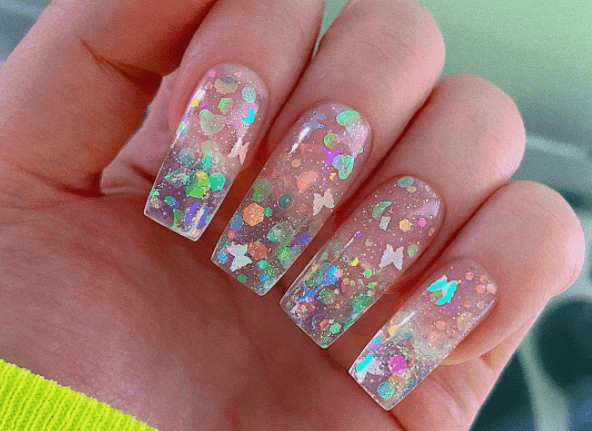
Repeat the whole process for all nails. Now you can decorate your nails with your favorite nail paint, stickers, whatever you want.
How long poly gel nails last?
One of the main reasons behind the popularity of poly gel is its durability.
If you apply and care poly gel nails properly, they can last for three to four weeks.
If you’re going to use it to lengthen your nails, make sure you create a high apex to give them balance and power.
And you have to be careful while doing the daily tasks like washing or cutting or typing. If these types of activities become rough for you hand, then your poly gel nails may not last long.
Are poly gel nails safe?
Polygel manicures are completely safe for your nails if you apply and remove them correctly. During the application of Polygel, it doesn’t release any chemical in the air that makes it safe enough than others. Learn more.
On the other hand while removing your poly gel nails, I recommend that you should take professional help.
Your nail artist will file away the majority of the poly gel from your nails. Then the residual formula or substance will be removed with acetone. That will make your nails clean and prepare for your next manicure.
Verdict
That’s all about poly gel nails. I hope you find the answer to How you can apply poly gel nails.
Then what are you waiting for!
Go, grab your poly gel nail kit and have strong and durable nail extensions. And give your hands a classy look.