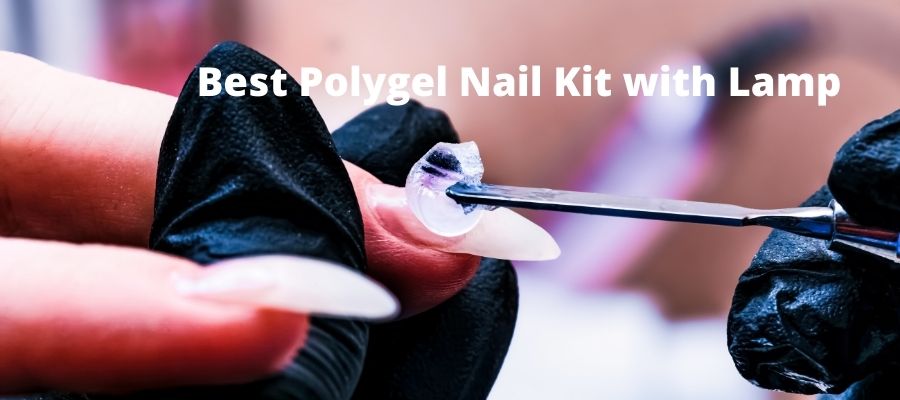
Polygel nail’s popularity surges significantly among the manicure lover due to its lustrous shine and finishes. Plus, it is much easier to apply and will stay a good amount of time on nails. Interestingly, a polygel nail kit comes with all necessary items to help the user in a perfect saloon-like DIY manicure at home.
So, what is the best polygel nail kit? After conducting research, we enlisted the modelones polygel nail kit in our best list. It offers eighteen items (including 6 colors) to ensure an artistic look on your nails. Plus, the manufacturer provides user-friendly instructions that hopefully not create much havoc while getting saloon-effect.
However, in the following, we discussed in detail our best pick. Here you will find a short brief on included items and an easy-to-understand application process. So, let’s see what’s waiting for you in the following section; hopefully, it won’t annoy you.
What Are Polygel Nails?
Polygel nails come with TriPolymer technology that offers durability and elastic application. Plus, here uses a liquid named slip used to sculpt Polygel, making the mold and shapes easy.
Interestingly, polygel nails are extremely moldable, which allow the user to create the jazzy look on nails.
This gel comes in a tube similar to toothpaste. The gel will come out when you apply pressure, and then you can apply it to your nail. Once you apply the polygel to the nail, you need to cure it using a LED lamp afterward. Typically, the curing time range varies from 30 seconds to 2 minutes.
Modelones Poly Gel Nail Kit: An INS and OUT Hacks
Modelones Poly Extension Gel Nail Kit with lamp offers an excellent service to those who love manicures. With its nail shaping feature, you can make sure of the artistic look of the nail.
Plus, its included items help you in getting salon effects any time and any place. However, without further ado, let’s dive into this polygel nail kit’s details discussion.
Modelones Poly Gel Nail Kit Review: Pros
1. An ideal package for complete nail care
You will find a lot of similar products in the market, but our picked Modelones Poly Extension Gel Nail Kit is slightly different. The price range isn’t too high; instead affordable.
With that price, you will get a complete package for nail care. So, let’s take a look at the following list of the included items in this package.
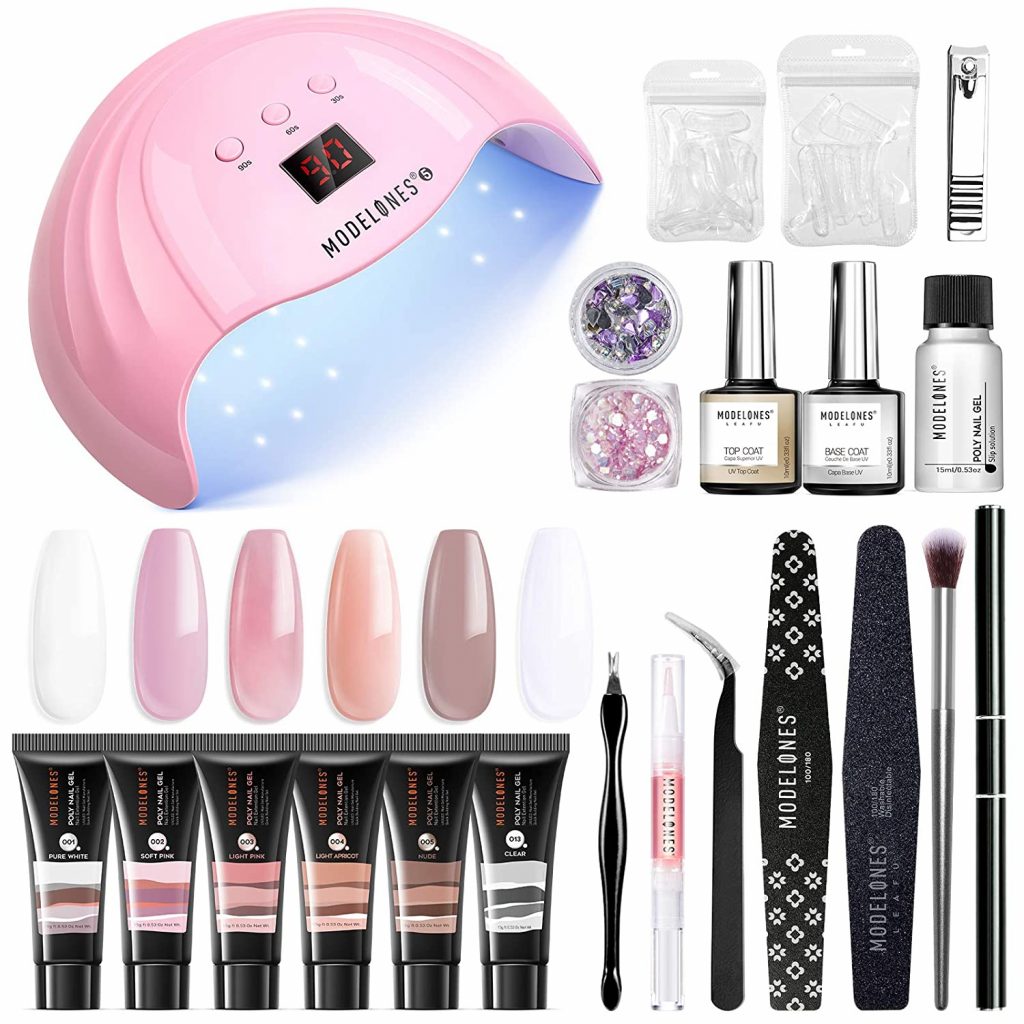
| A 24W LED Nail Lamp | Gel Base Coat, Top Coat | Six Neutral Gel Polish Colors | Two Polygels (Clear & Pink) |
| Rhinestones & Glitter | Holographic Chrome Powder | Nail Stickers | Swatch Wheel |
| Dual Forms (2 sets) | Cuticle Pusher | Cuticle Trimmer | Clippers |
| Tweezers | Nail Files (100/180 grit & 600/3000 grit) | Nail Brush and Polygel Spatula (double-ended) | Dusting Brush & Nail Brush |
| Toe Foam Separators | Alcohol pads & Removal pads |
Interestingly, here include bonus items such as stickers, rhinestones and glitters; hopefully, your nails look much more attractive.
You will find a good amount of rhinestones along with different size gems.
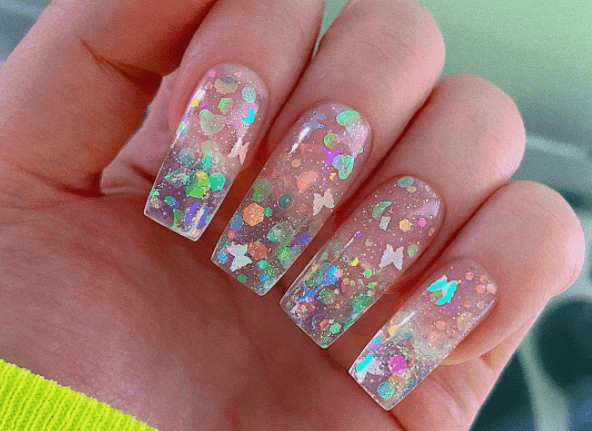
Different nails with different colors, hopefully, a wish for the polygel users. Interestingly, this package offers you six different types of color such as pink, mauve, white, nude, color-changing (clear in warm and pink in the cold), and champagne glitter and
Do you use the only color to decorate your nail? Don’t worry; the manufacturer offers six sticker sheets; two of them are flowers and butterflies to uplift your nail design.
During a manicure, using a brush is necessary for clean finishing. To help you, this package offers you two brushes where one can be used to brush off the dust after filing, and the other one helps you to clean the nails around while prep.
Another blissful thing is the 50% alcohol included slip solution, which hopefully is a great addition.
Are you looking for what lies herein to help you in soaking and removing? Well, we find the package offers removal of dedicated pads.
Before removing the gel from the nails, we suggest you wrap each pad using aluminum foil around the nails. You have to leave it for 10 minutes for soaking and softening the gel.
One thing that may make you worried like the small-size tube. But the good point is you don’t need to apply more, but not true for long nails.
Notably, with that gel tube, you can easily do ten more sets of nails. Plus, each gel tube has enough amount to help you in 2 full manicures (here, the long nail doesn’t matter).
2. LED lamp
You already know this includes a LED lamp. You will find four different modes where three modes are automatic.
Here includes no on/off switch; therefore, the power comes when you plug it in. However, you will see a power button third on the button row, but this button is only for on\off the automatic sensor.
Here you will find two separate automatic time modes like the 60s and 30s. If you press any of that time modes, it will stay on for that duration until you remove your hand from the lamp.
Beside the power button, you will see a 1/2 low heat mode. That mode offers a great service for those who want to cure the polygel or gel’s thick layer.
Plus, that mode helps to keep aside hot sensations and pain produced by heat spikes. This mode is automatic, and it takes the 90s for curing.
One word of caution: You have better use the lamp in not more than 30 seconds because more time may give you a burning feeling.
3. User-Friendly mechanism
Though the polygel is a much more upgraded version of nail polish, the application process seems complex among the user. Although the statement seems true, but our picked polygel offers many advantages in the application arena.
The manufacturer provides a leaflet having a lot of information. The information is on the included items, along with the step to get an artistic look.
The instruction seems easy to understand; hopefully, you won’t mess up your manicure session.
You will find the slip solution is easy to apply.
While using this poly gel kit, you can apply it directly to your nails, put the mold, and then smooth that by the slip solution.
Another good point is that the tube lets you store gel easily and use it for a long time.
4. Long-lasting
After passing a long time behind designing nails, undoubtedly, you want it to spread beauty for a good amount of time.
Well, the manufacturer won’t dishearten the users because this polygel will stay up to 2 weeks or more. But one thing you have to maintain is to ensure proper nail prep like cleaning, filing and buffering.
Suggestion: If you want better adhesion and ensure long-lasting, you must apply primer and nail dehydrator.
Modelones Poly Extension Gel Nail Kit: Cons
1. Light color
The color of this polygel kit seems light; therefore, it may not be visible much to you.
2. Small gel tube
The tube size is small, which may cause a little problem while using to design nails.
3. Not beginner-friendly
Although the manufacturer provides enough instructions, using isn’t easy for beginners instead, they need lots of practice.
Pro Tips:
Let’s look at some pro tips, which will help you in better design.
- Wiping with alcohol will be a good point before applying the base coat.
- You will find six different colors although you can make a new one by mixing one with another from those six.
- If you want to get the perfect shape of the nail extension and make the trimming easy, you have better make sure the nail extension’s tip on the dual foam is much thinner.
- Though the too-thin layers are too shaped and hard to crack, you have better avoid those.
Modelones Poly Extension Gel Nail Kit: How To Apply
The applying process of Modelones Poly Extension Gel Nail Kit is pretty straightforward. Here you will find those applying processes; hopefully, you can easily get those.
Top 8 Steps to follow to apply Modelones Poly Extension Gel Nail Kit:
- To begin with, you need to clean and buff the nail. In this package, you will find a small nail kit, but if you have a large one, try to use that to finish easily. Once you finish buffing, you can use the “slip” or a little rubbing alcohol to clean them.
- Now, take the base coat and evenly apply it to the nails and then cure them for 30 seconds using an LED lamp.
- Next, take paper nail guides or the dual nail forms to cover the nails.
- After that, pick one polygel color tube and then squeeze a little amount onto the spatula and apply that to the center of the nail.
- Now, take a brush and dip that into the slip and then form the light shape of the nail using the polygel.
- After giving the shape, you need to cure your nails for 30 seconds using an LED lamp. If your nail still remains soft, you can keep your nail under an LED lamp for extra 30s.
- Once you successfully dried and shaped your nails, you need to shape those using a file. After shaping, you need to clean those nails using a cotton pad and then dip in the slip solution.
- Finally, you can top off your nails using the top coat and then cure those for the 60s using an LED lamp.
Final Thought
Women have used nails overlays and artificial nail extensions in the past to design the nails, but those items aren’t easy to use. Sometimes, those can’t enhance the desired nail’s appearance. Thankfully, today we have plenty of polygel nail kits at hand to get our desired nail design.
Among those polygel nail kits, we share Modelones Poly Gel Nail Kit review, which offers complete nail care at an affordable price. Apart from the detailed discussion on the polygel kit, we enlist an applying process. So, how it looks or what is your experience – feel free to share those in the comment box.